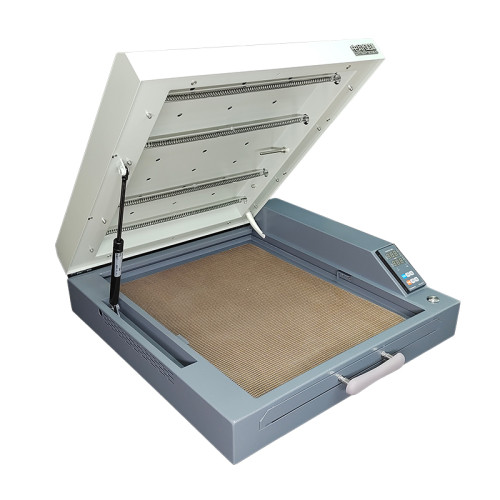
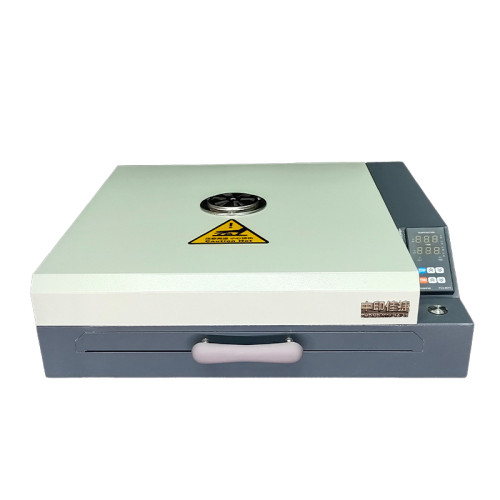
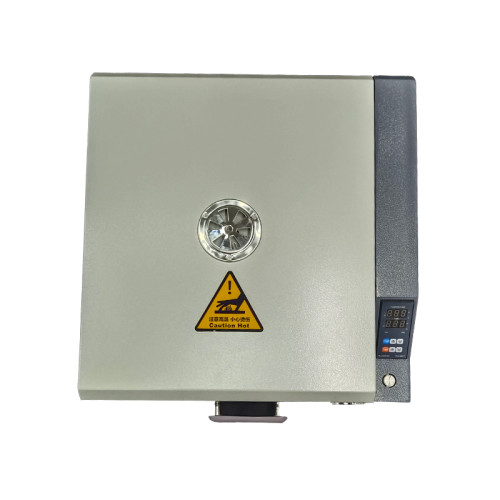
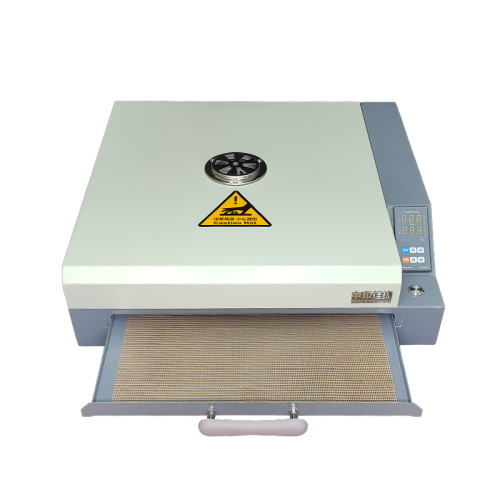
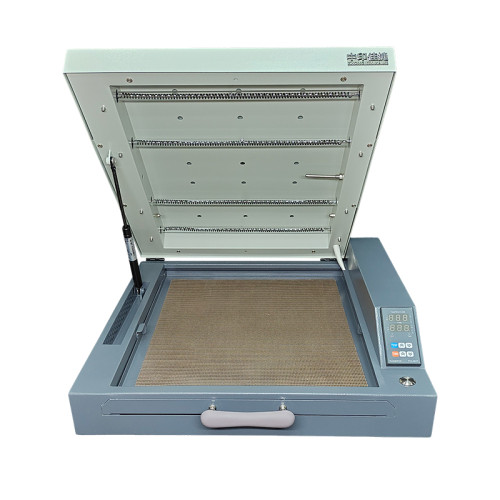
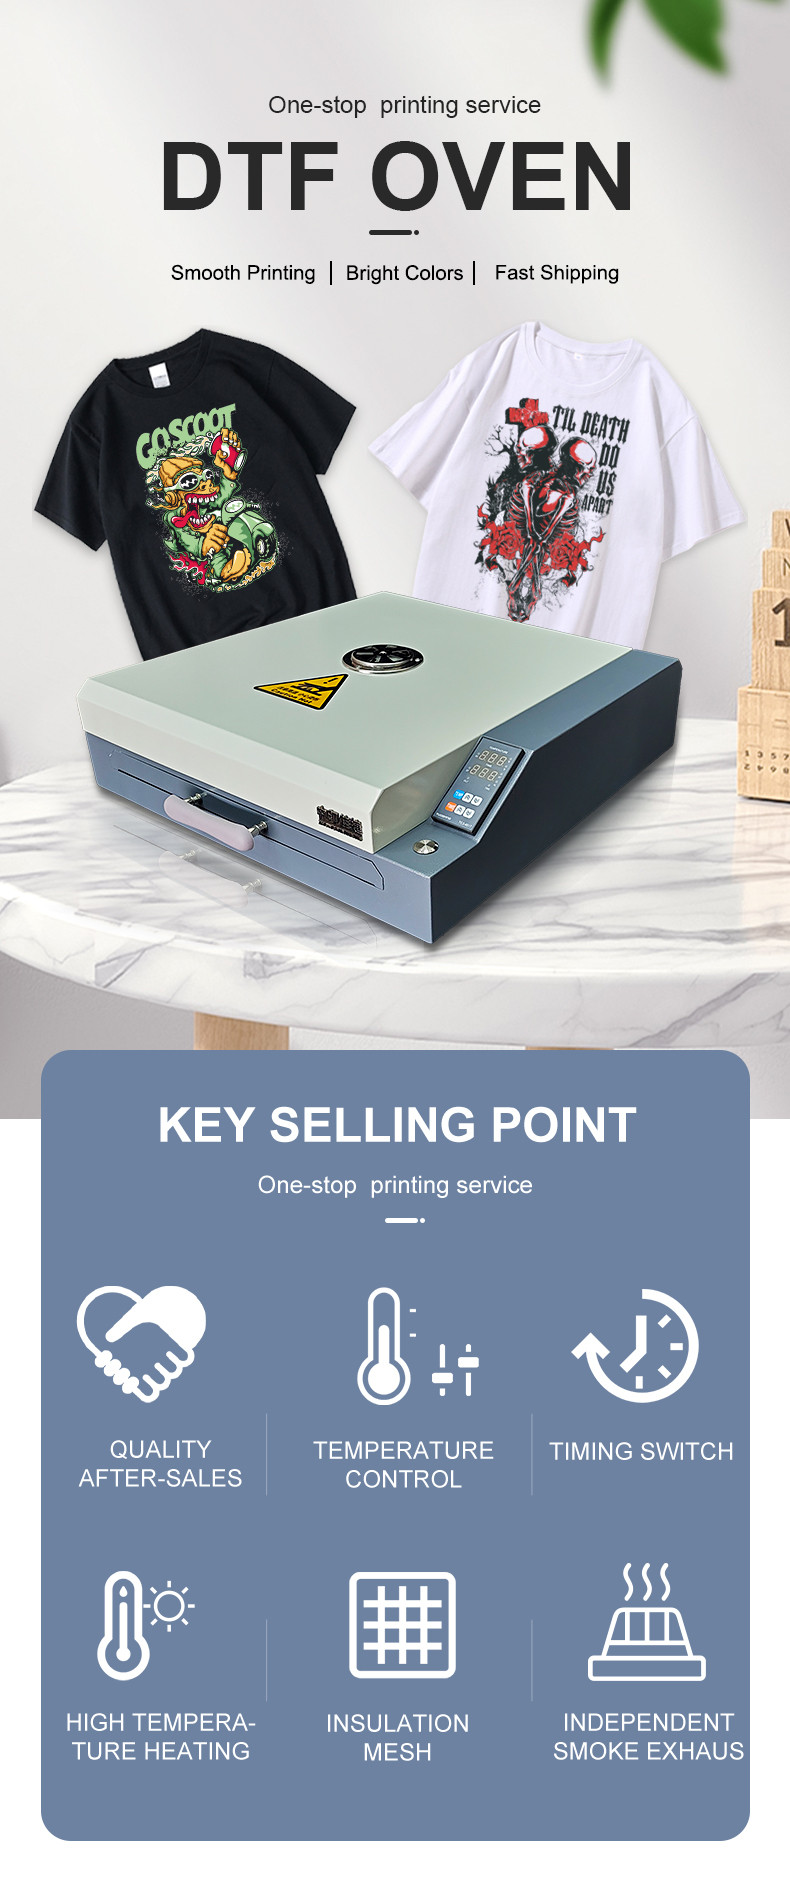
a3 desktop portable dtf oven
a3 desktop portable dtf oven
Model
HT-01A
Item specifics
Baking Area
420*380 mm
Voltage
110V or 220V
Power
1200/W
Net Weight
10.6 kg
Body Size
500X495X130 mm
Review
More
Add review
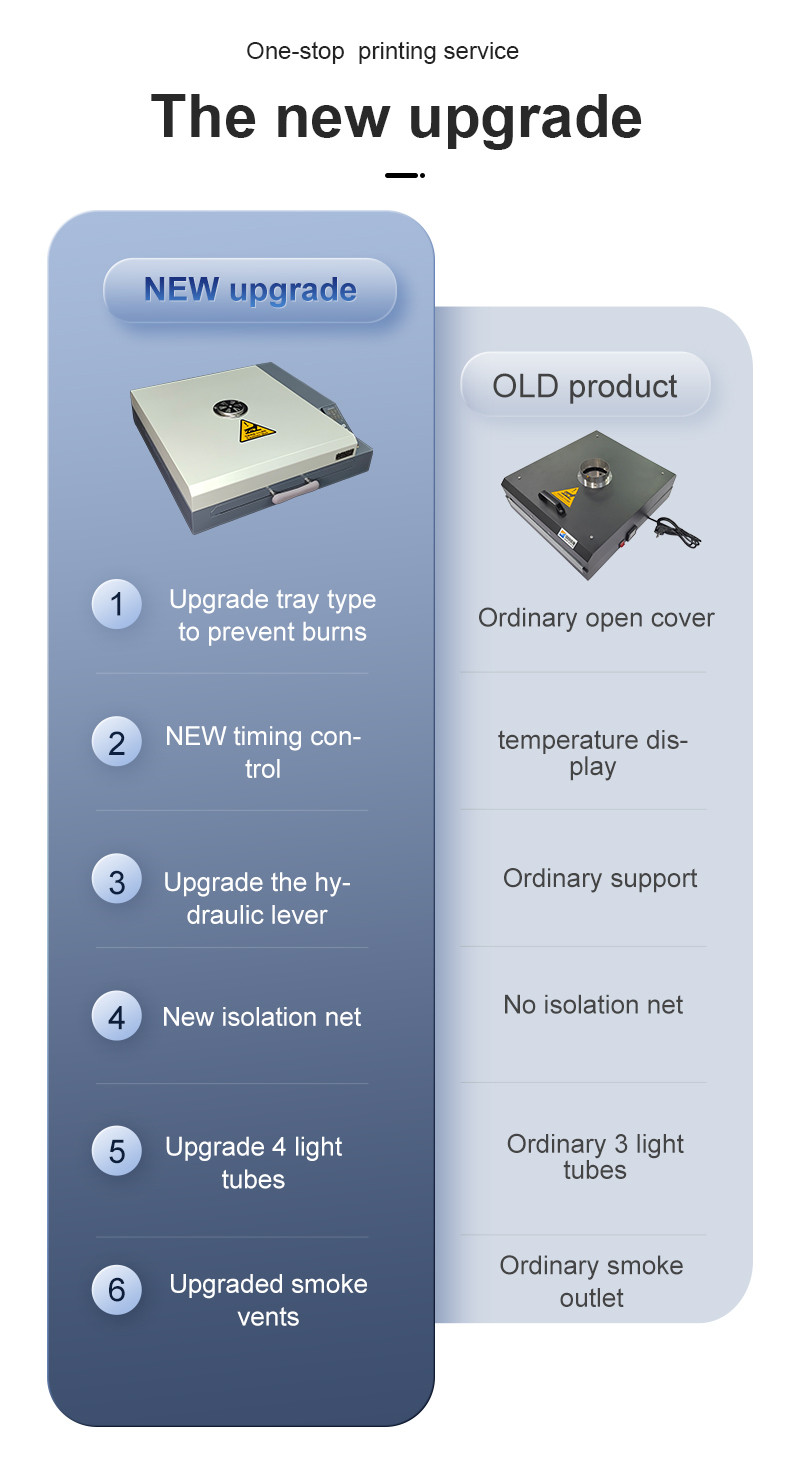
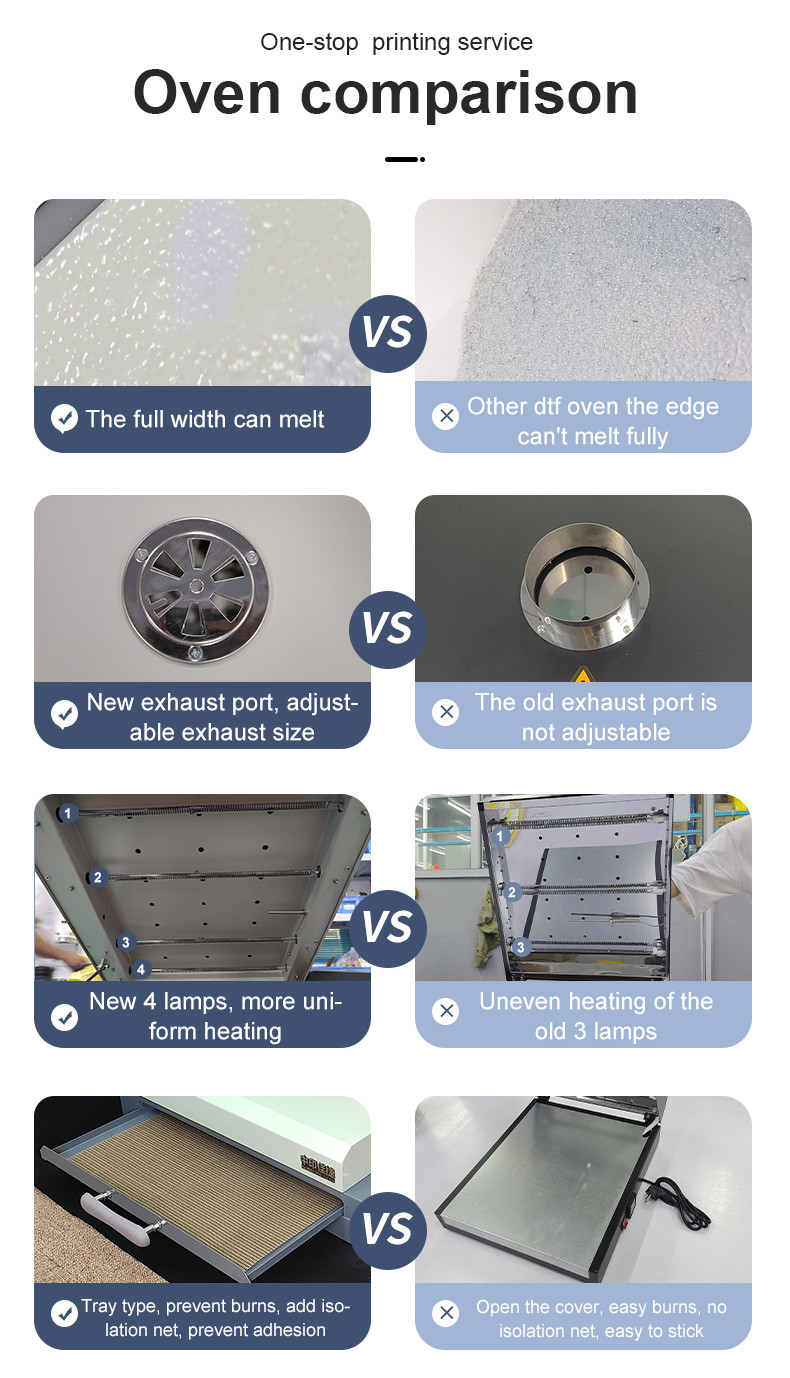
Description
View More
recommend
double-layer portable dtf curing oven
Model : HT-01A
a3 double layered desktop dtf oven
Model : HT-01A
a2 dtf oven
Model : HT-01A
KeyWords
FCOLOR DTF oven
A3+ Desktop DTF Oven
A3 mini oven
A3 DTF mini oven
digital machine manufacture
Add to wish list
Send Inquiry