How to Clean Cartridges?
- Share
- Issue Time
- Jul 25,2022
Summary
If the document is smudged when you print it, your work also doesn't look as good as it can do. You might need to clean the printer's ink cartridges. By removing the ink cartridges and wiping off excess ink with cleaning supplies, you can get your printer back up and running in no time!
There is nothing more frustrating than a printer not working properly. Your files are dirty and your work doesn't look as good as it could. If this is the case, you may need to clean the ink cartridges. By removing the ink cartridges and wiping off excess ink with cleaning supplies, you can get your printer back up and running in no time!
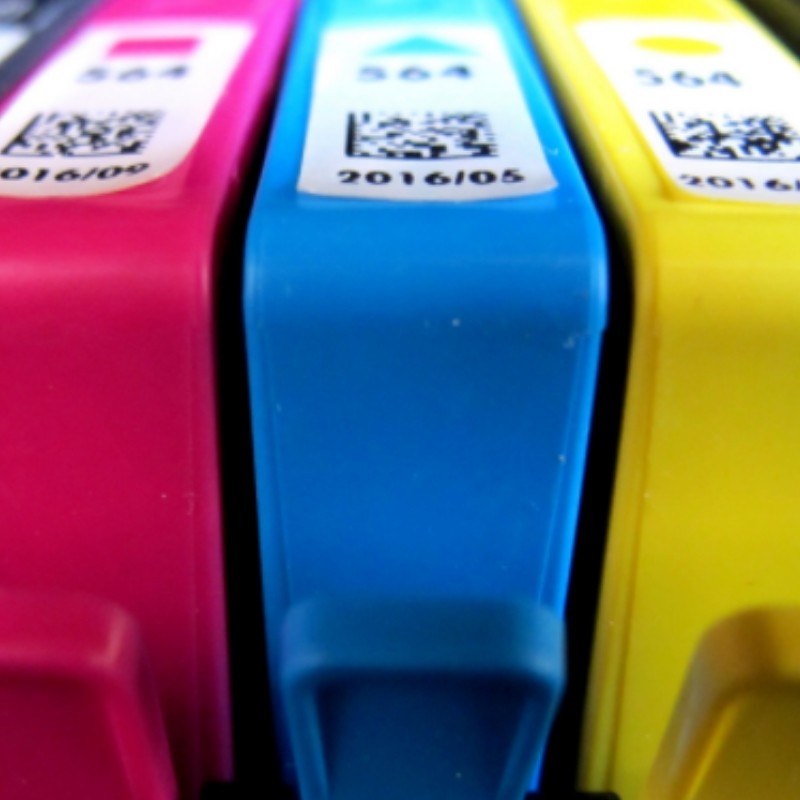
Part 1: Remove the ink cartridges from the inkjet printer
1. Please put on a pair of latex gloves before touching the printer
Ink is usually all over the place, and it's hard to wipe off your hands. If you have a latex allergy, no worries! You can use rubber or vinyl gloves instead.
Make sure you have a pair of gloves on hand. If you try to clean or reinstall the ink cartridges with ink-stained gloves, the cleaning process will be delayed.
2. Unplug the printer before turning it on
It's important not to do any such workaround plug-in printers. That being said, some printers won't let you change ink unless plugged into the printer. If your printer does, lift its lid and remove the ink cartridges. Then, unplug the printer and continue to the next step.
If you unplug the printer and turn it on and find that you cannot remove the ink cartridge, do not try to force it out. You may damage the inside of the printer.
3. Open the printer and take out the ink cartridge
The ink cartridges are located near the front of the printer, so look for a flap just above where the paper is and lift it up to reveal the inside of the printer. Then, look for the two ink cartridges located on the side of the printer.
This flap should lift easily, so no force is required when you open the printer.
4. Gently remove the ink cartridges one by one
Push down on the top of each ink cartridge to remove them from the ink cartridge holder. The cartridges fit snugly into their holders, so you may need to wiggle them a little to loosen them! Then, pull each of them out of the printer.
If you're too rough, you could damage the cartridges themselves or where they're stored.
Part 2: Scrub your cartridges
1. Wipe the outside of the cartridge with a paper towel
Take a tissue and fold it in half. Then, pour a capped bottle of isopropyl alcohol onto a towel and gently wipe the back and bottom of the cartridge with the towel to remove any build-up of ink.
Wipe the ink cartridges several times to make sure you have removed any excess ink.
2. Clean the print head with a damp cotton swab
The printhead is the area that covers the cartridge itself. Soak a cotton swab in warm water and gently wipe along the print head. Check the printhead several times with the end of a cotton swab for a thorough cleaning. If you are concerned about mineral deposits in your tap water, use distilled water.
3. Scrub the colored circuit strips with different wet cotton swabs
This strip is located on the back of the cartridge. Put a few drops of water on a cotton swab, then run the swab back and forth over the circuit to gently clean the circuit.
Check the strip 3-4 times to make sure it is completely clean.
4. Remove excess water from the cartridges and let them dry
Take an unused cotton swab and wipe the printhead and circuitry to make sure the ink cartridges are dry. Then, place the ink cartridges on a paper towel to dry for 15 minutes.
Leave the ink cartridges out to dry with the circuit facing up.
Part 3: Reinstall the ink cartridges
1. Snap the ink cartridge back into its holder
Press down on the ink cartridge and push it into the retainer to hold the ink cartridge back in place. You should hear a click to let you know the cartridge has snapped back into place.
Use your thumb and index finger to wiggle the cartridges to make sure they are not loose. They should fit snugly against the cartridge holder.
2. Turn off the printer and plug it back in
Pull down the printer cover and reinsert the machine. Turn on the printer and wait a few seconds to restart.
You don't want to assume that the printer is working fine again, so take a moment to see if everything is fine.
3. Test your printer by printing a document
Make one part of the document black and white and the other part color so you can be sure that both cartridges are backed up and running smoothly. You don't need to fill the page with text or images, so just type in a few sentences. Then, copy and paste these sentences into different parts of the page. Highlight sentences and make words different colors. Print out this paper and see how solid the ink looks and how vibrant the colors are.
You only need 1 sheet of paper to do this.
The steps for cleaning the printer ink cartridges are described in detail above. If you want to know more or want to buy printer ink cartridges, please contact us.
FCOLOR is a professional custom inkjet printer and ink cartridge manufacturer. We have nearly 10 years of experience in the inkjet printing industry, and Fcolor brand products are loved and recognized by overseas customers. Products include: ink cartridges, dye base inks, pigment inks, sublimation inks, environmentally friendly solvent inks, film inks, DTF printer inks, inkjet printers, PVC/ID cards, card printers, label printers; dye-sublimation/digital printing equipment and consumables; Customized solutions are also provided to customers.
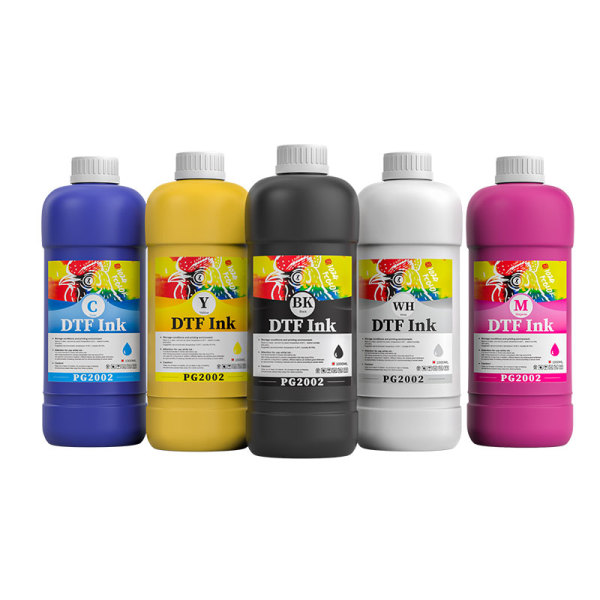
DTF ink prints with bright colors, high degree of pattern printing, clear and smooth without clogging